Your cart is empty

Take advantage of 10% discount now on the entire webshop* - Use code springfire10
How do I assemble the BBQ | Outdoor cooking stove?
Outdoor cooking can begin!

Outdoor cooking begint op de BBQ | Buiten kookkachel van het VUUR LAB.
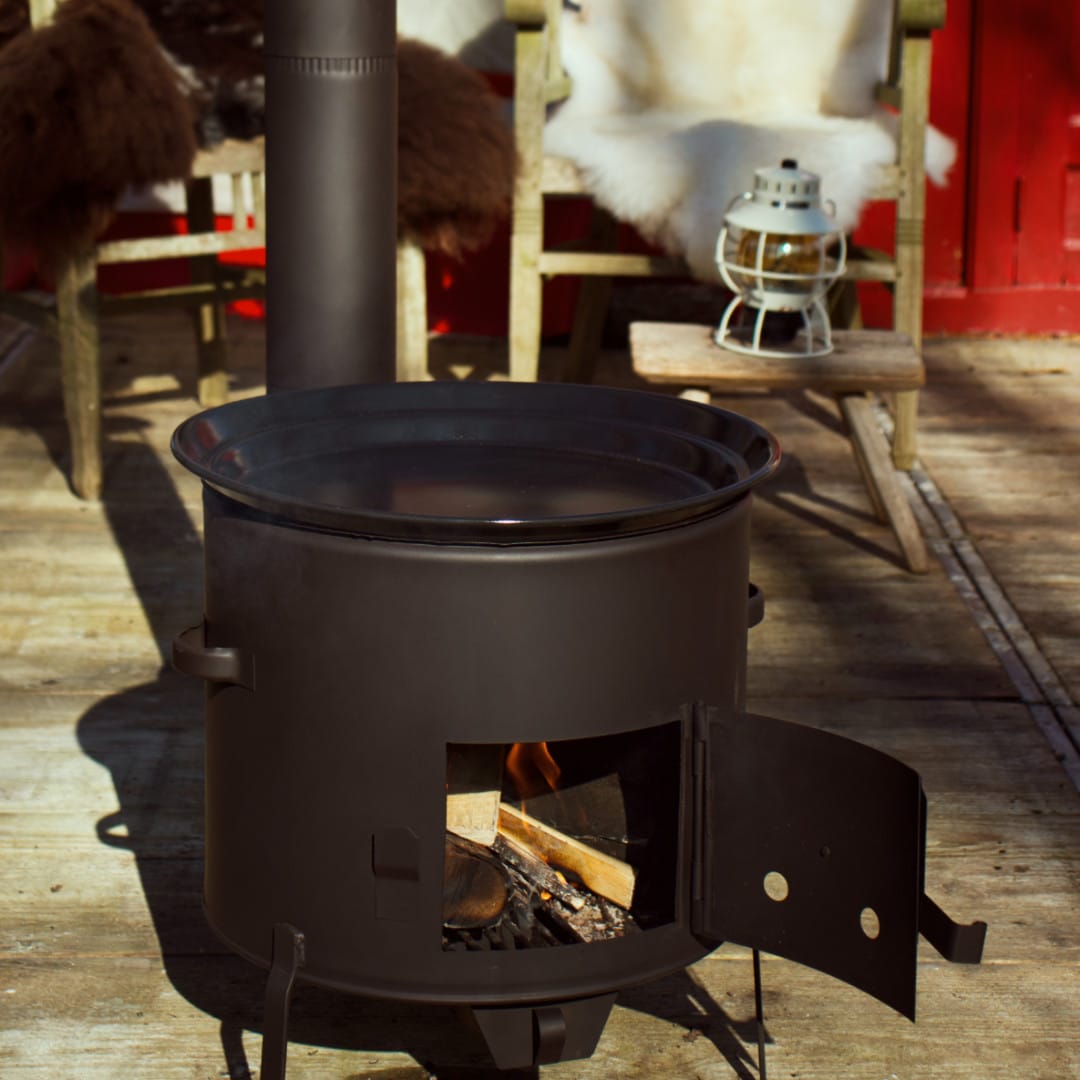
Our BBQ | Outdoor cooking stove arrives in a nice box full of interesting details. For example, scan the QR code for a page with recipes, facts etc. There are also several accessories on the box. In the box you will find the following parts:
Onderdelen VUUR LAB. BBQ Buiten kookkachel:
1) Outdoor cooking stove | BBQ inclusief vaste poten
2) Connector 1x
3) Tubes 2x
4) Chimney 1x
5) Ash tray 1x
Roadmap
Our BBQ | Outdoor cooking stove is fortunately easy to put together. With the help of this step-by-step plan, we list all the clear steps for you. Do you still have questions? Don't hesitate to contact us. We will gladly help you!
Place the BBQ | Outdoor cooking stove in a spot of your choice. Please note that when the stove is hot, it is difficult to move it!
Take the connector and insert the non-ribbed side over the tube of the cooking stove
Take tube 1 and insert the non-ribbed about the ribbed side of the connector
Then place the non-ribbed side of tube 2 about the ribbed side of tube 1
Then place the chimney cap over the ribbed side of tube 2
Slide the ash pan at the bottom of the BBQ | Outdoor cooking stove
Voila!
Watch the video below!


